
How-to Guide: Creating Stunning Portraits in South African Light


Understanding South African Light
South Africa offers a unique and diverse range of lighting conditions that can significantly enhance portrait photography. From the golden hues of sunrise to the dramatic shadows of sunset, the natural light in this region is a photographer’s dream. Understanding how to harness this light is essential for creating stunning portraits.
The quality of light varies across the country, with coastal regions offering different conditions compared to the interior. Coastal areas often have softer light due to the presence of moisture in the air, while inland areas can offer more intense sunlight.
Choosing the Right Time of Day
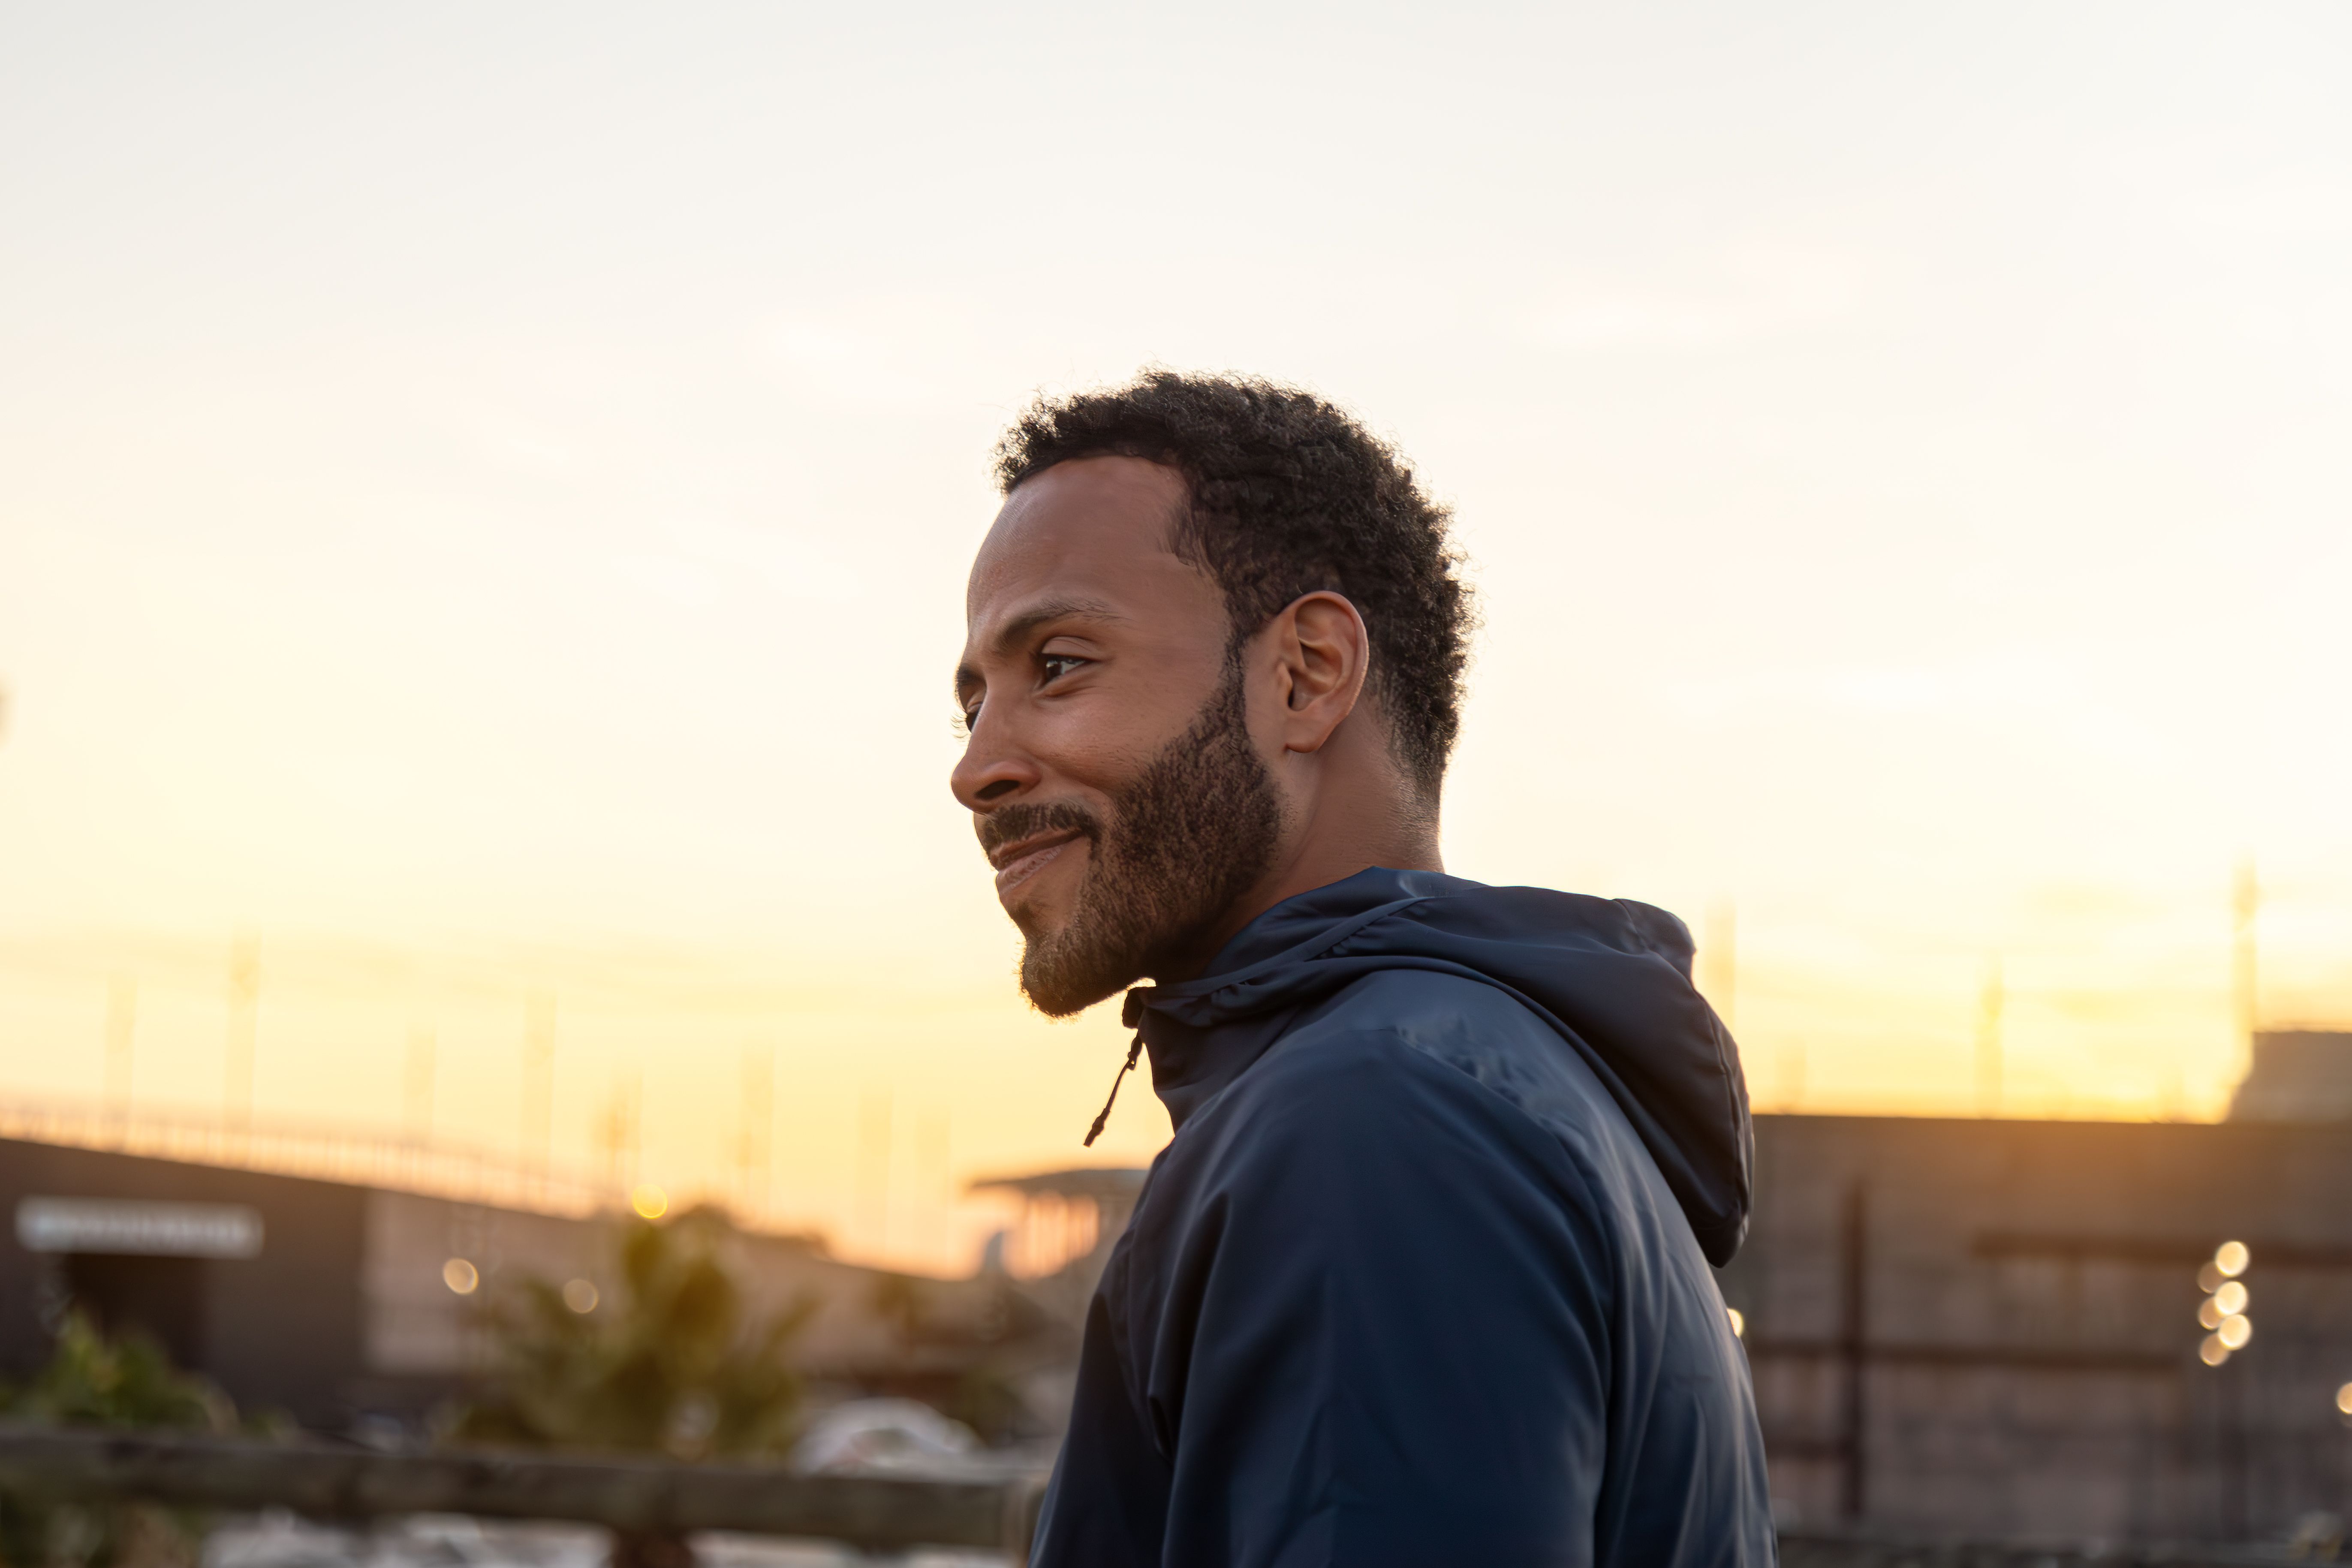
The time of day plays a crucial role in portrait photography. Early morning and late afternoon, known as the golden hours, provide soft, warm light that is ideal for capturing flattering portraits. During these times, the sun is low in the sky, reducing harsh shadows and creating a gentle glow.
Midday sun can be harsh and create unflattering shadows. To counteract this, consider shooting in shaded areas or using a diffuser to soften the light. Overcast days can also offer excellent lighting conditions, providing even, diffused light that minimizes shadows.
Utilizing Natural Backdrops
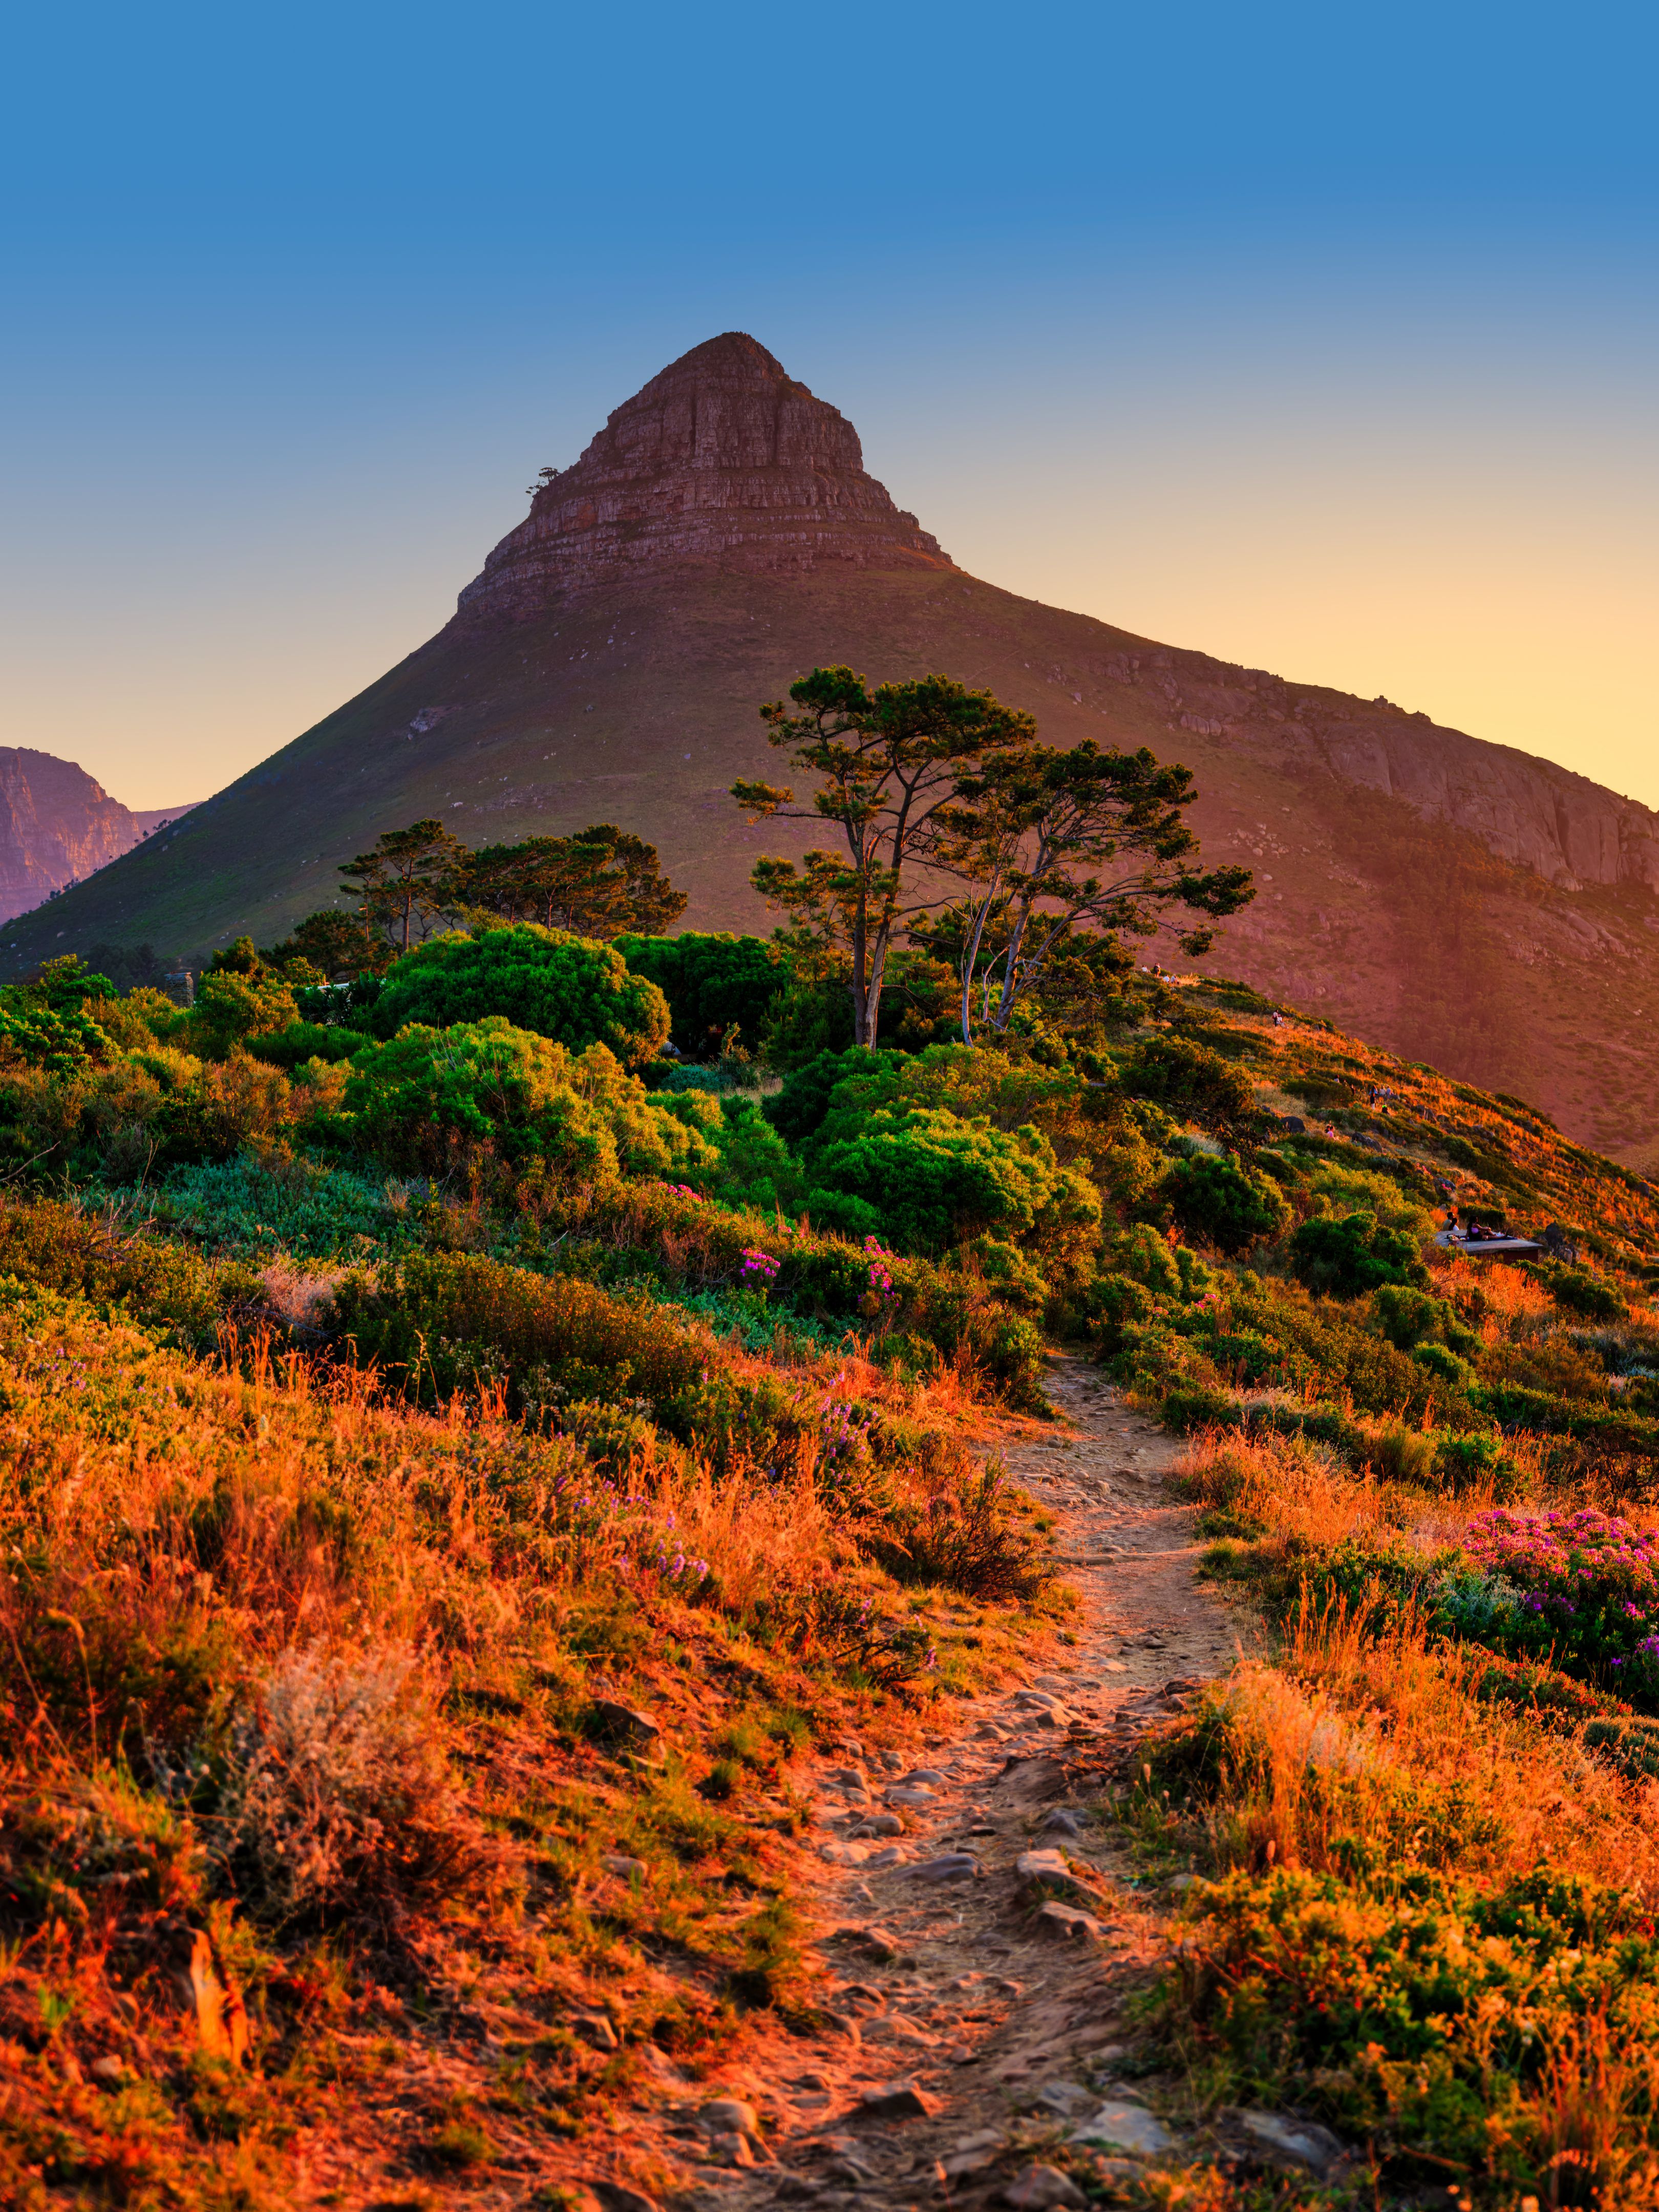
South Africa is blessed with breathtaking landscapes that can serve as stunning backdrops for your portraits. Whether you’re shooting in the lush vineyards of the Western Cape, the rugged terrain of the Drakensberg, or the vibrant cityscapes of Johannesburg, each location offers a unique setting.
When choosing a backdrop, consider the mood and story you want to convey. Natural elements like trees, rocks, or water can add depth and interest to your composition, helping to frame your subject effectively.

Mastering Camera Settings
Getting the right camera settings is key to capturing stunning portraits in South African light. Start with a wide aperture (low f-stop) to achieve a shallow depth of field, which helps to isolate your subject and create a pleasing background blur.
Adjust your ISO according to the lighting conditions. In brighter settings, a lower ISO is typically sufficient, while dimmer conditions may require a higher ISO. Shutter speed is also essential; ensure it's fast enough to prevent motion blur, especially if you're shooting handheld.
Post-Processing Tips
Once you've captured your portraits, post-processing can enhance the final result. Use software like Adobe Lightroom or Photoshop to adjust exposure, contrast, and color balance. Pay attention to skin tones, ensuring they remain natural and flattering.
Experiment with black and white conversions, which can add a timeless quality to your portraits. Cropping and adjusting composition can also help to emphasize your subject and improve the overall impact of the image.

Engaging with Your Subject
Finally, the key to any great portrait is the connection between the photographer and the subject. Spend time getting to know your subject, making them feel comfortable and at ease. This rapport will reflect in their expression and posture, resulting in more authentic portraits.
Direct your subjects gently, offering guidance on posing while allowing them to express their personality. Natural expressions often make for the most compelling portraits, so encourage your subjects to relax and have fun during the shoot.